Sunday, September 30, 2012

Halloween Greetings

With today's technology, most of our greetings are virtual; email, Facebook, texts....
 
Although we don't need an excuse to brighten someones day with a card, the holidays are a perfect opportunity.  This year, why not spread some Halloween cheer, get creative & hand-make a few cards to drop in the mail?
 
I think I'll use my hand-made cards to send to nieces & nephews with a gift card of a small denomination in lieu of candy this Halloween.
 
Scroll down to see a few examples....

All of the cards featured on today's blog are made with paper & embellishments from K&Company.
K&Company products can be found at your local craft store; now is an opportune time to purchase for best selection.
 

Hand-made cards add a personal touch to your greeting. Each card is as unique as its recipient.


 Halloween is a favorite holiday here at A Southern Obsession, so stay tuned all month long for DIY decorating ideas, costume inspirations, recipes to share at your upcoming holiday parties, and more. Also, don't forget our upcoming drawing for OPI's  So So Skullicious nail polish for our followers!
 
Share pictures of your hand-made cards with us; we'd love to be inspired by you!


Friday, September 28, 2012

It's Fall Ya'll

Fall is finally here, although in south you wouldn't know it by the temperature. I can't wait any longer; I need to decorate! Today I'm going to share with you my first attempt to create a mesh wreath. If you're unfamiliar with mesh just check out your local craft store; you're bound to see some of the many options for using mesh on display. While there, pick up a few rolls of mesh & try out this simple wreath that'll brighten up any door.
 
Like most things, rolls of mesh are cheaper online. The 2 that I purchased for this project were 7.99/roll @ a craft store (I only used 1/2 of each roll). Online you'll pay around $1-2 less. I chose orange & green; 2 generic fall colors that, next week, I can incorporate into my more spooky decor. Other supplies you'll need for this wreath include a wire wreath frame ($5, reusable), cable ties (4"), scissors, and decorative ribbon for a bow.
 
 
To make it more managable, unroll about 3-5 feet of one color & cut it from the roll. Begin by scrunching one end of the piece you cut and secure it to the wire frame with a cable tie.


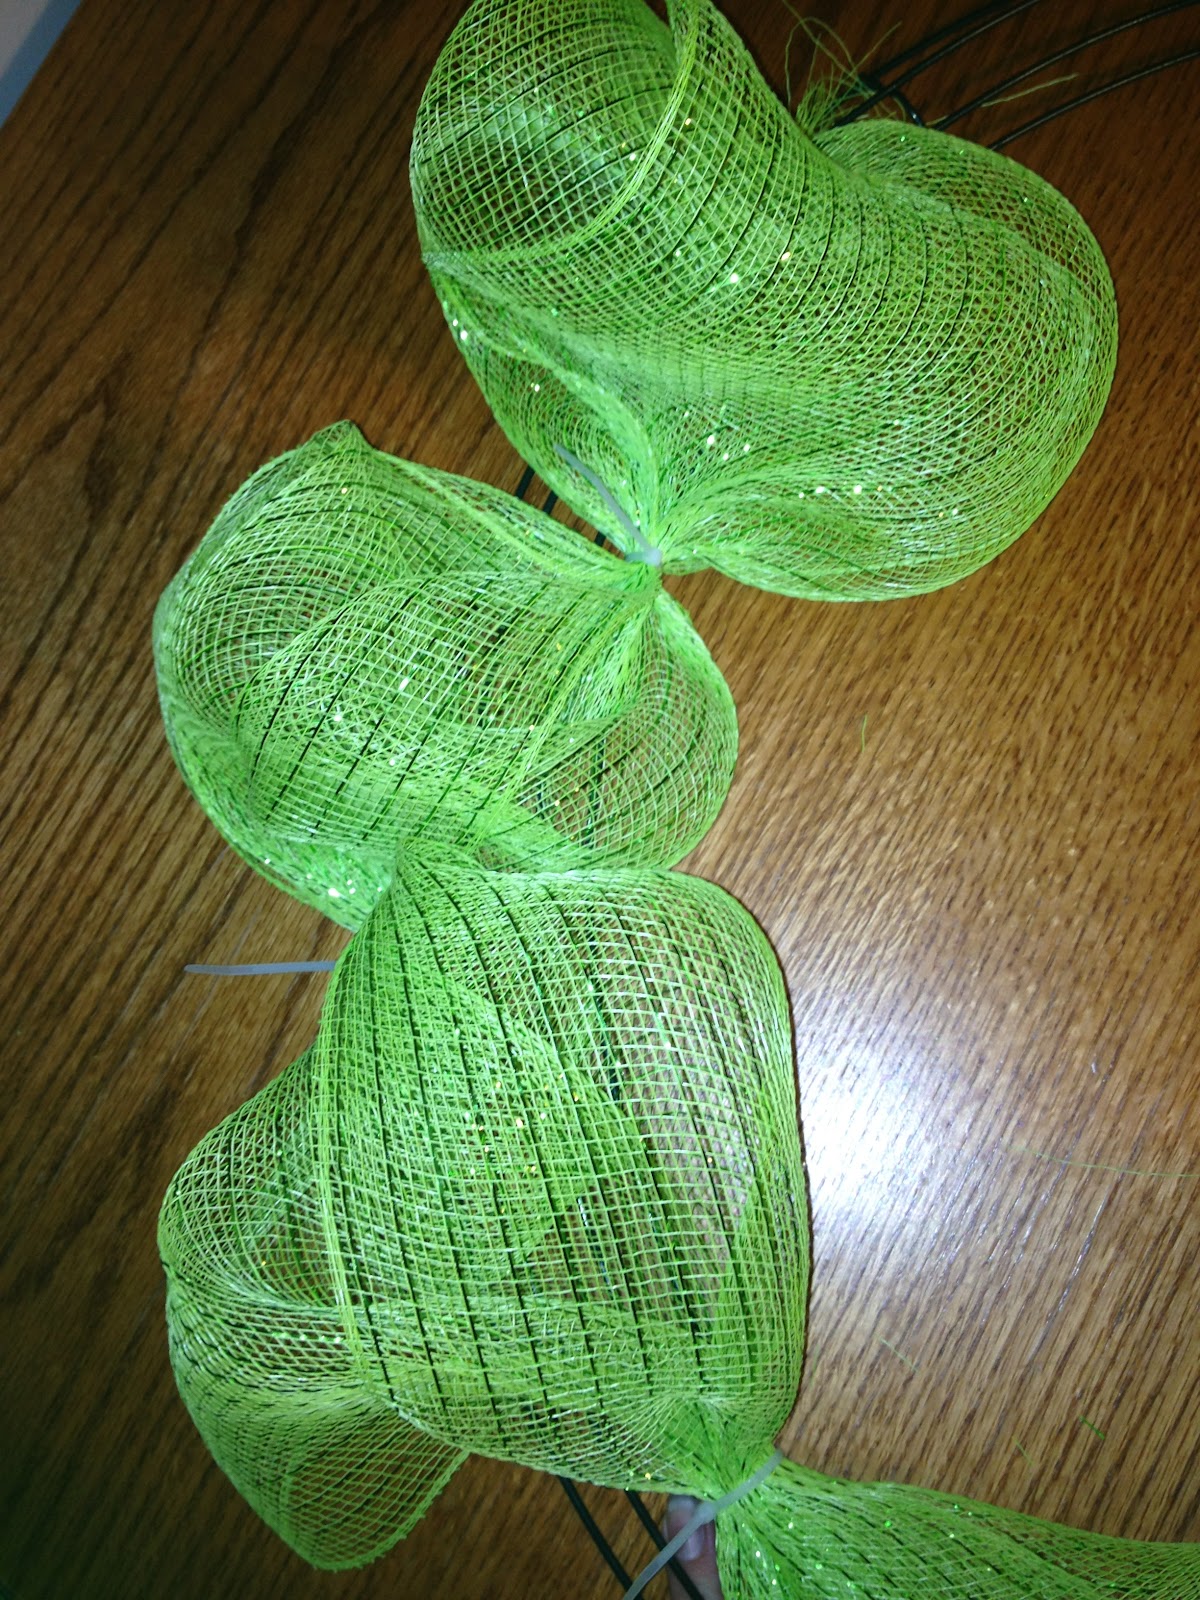
From here, gather the mesh in sections about 10-12 inches long. Once my wreath was completed, I regretted not using bigger sections as the wreath will appear more full. Secure the end of each section to the wire frame with a cable tie. It should looks something like this:


I apologize for the bad lighting.
 
Now repeat the above steps with 2nd color, this time weaving the alternate color in between each section of your original color.


Because mesh is shapeable, once you have both colors secured to the wire frame, feel free to "fluff" up the pieces. Adjust areas that may be more full than others.
 
 
Once the wreath is to your liking pop a bow at the top.


And quickly find a door to make festive.


This is a VERY simple illustration of the use of mesh.  I'm looking forward to using mesh to create lots of decor this holiday season. Keep scrolling for some other mesh wreath ideas


Thursday, September 27, 2012

BBQ!

For those of you who don't know, which is most of y'all, I live in Western Kentucky.  I love living here.  The small town life, the changing of the seasons. But my favorite thing is the BBQ on the river!  They have it every September, and we go every year!


Vendors from all over come to the river front and cook for bragging rights!  They all do it for various charities and schools in the surrounding areas.  But besides having barbecue, they also have funnel cakes, old fashion ice cream, and my favorite, deep fried oreos!!


We are going Friday, to munch on barbecue sandwiches and drink lemonade!  I honestly cannot wait!  Hopefully I will get some good pictures I can share with y'all!  Have a great Thursday!

Tuesday, September 25, 2012

It's Halloween!!

Ok, not really.  But we are getting closer!  And I can't wait!  Halloween is a huge deal around our house.  We have a Halloween party every year, and all of our friends dress up in costume.  We have had some great costumes through out the years.  And that is what today's post is about.  A DIY costume idea!  And it's so easy!  I have already done it.  So, can you guess who I was last year for Halloween?


Flo from the Progressive commercials!  And it was actually a pretty easy costume to make!  I already owned the white jeans and bought the white polo at the Gap on clearance.  I think it was from the mens section.  The fake Converse were from Payless.  Cute and I still wear them.  Now, the apron and letters I bought from Hobby Lobby.  I think I used a 40% off coupon for the apron.  Then just went home and ironed them on!  The head band was from the Dollar Tree.  I just teased my hair in the back and put the head band on.  I downloaded her name tag and the I Heart Progressive logo from Progressive's website (they actually have a link to tell you how to dress like Flo!) and printed it on card stock.  And finally, I used two different red lipsticks to get that same red (or as close as I could).  Everyone said I looked just like her!  And it was so easy!  So get our there and get your Flo on, or just start thinking about your costume, and have a great Tuesday!!

Wednesday, September 19, 2012

Dressed Up Table

I love holidays.  And I love dressing up our house for the holidays.  Since Halloween and Thanksgiving are just around the corner, I thought today would be a great day to start some fall DIY projects.  We are going to dress up our napkin rings.  Now, if you only have antique napkin rings that were passed down to you from your Great-Grandmother, I suggest buying some more.  However, everyone else can just use the ones we have currently on your table (or in a drawer, in the back of your closet, where ever they are).  First, we need the napkin rings


These were wedding gifts.  Next you need your hot glue gun and some little wooden pumpkins.  They don't have to be pumpkins, they can be whatever you would like.  Just make sure they are small and can handle hot glue.  I got these at Hobby Lobby


I think they were $1.99 for six in the fall crafts section.  Cute, cheap, and versatile, since they can work through the fall season.  Now, my napkin rings have a dip in them, so I applied hot glue around the edge.  And then I simply pushed the pumpkins down onto the glue. 


Easy peasy.  And, since it's hot glue, it should come off without a problem.  Now, I just need to make some cute napkins and my table will be half way done for halloween!!  I hope you have a great Wednesday!!


Tuesday, September 18, 2012

Retail Therapy

Shopping literally is like a therapy to me, or should I say window shopping? I'll admit its rare that I come home with nothing, but I like to make sure I'm getting a good (if not the best) deal. In the spirit of today's Trendy Tuesday post, I've scoured the internet for some tips & tricks to keep in mind next time you're out looking for a deal.
 
We'll start with Target because lets be honest...I hate shopping at Target, said no one ever. At times Target can be pretty generous with their markdowns. Be sure to check endcaps (shelving @ the end of aisles) for clearance merchandise. See below for a handy schedule of what departments get marked down & when....
  • Monday - Kid's clothes, stationary, electronics
  • Tuesday - Women's clothes, domestics
  • Wednesday - Men's clothes, toys, health & beauty
  • Thursday - Lingerie, shoes, housewares
  • Friday - Cosmetics, automotives

A personal favorite of mine, TJ Maxx, usually marks their items down on Wednesday (this may vary by store). Ask a manager what days they receive new merchandise & shop the day after, when the employees have had time to get the merchandise onto the sales floor. One great thing about TJ Maxx is their lay-away program: $5 fee, 10% or $10 down (the lesser of the two) & they'll hold the items for 30 days. After you pick up your lay-away, if you decide against something, you can return it with no penalty (with receipt).
 
 
Have an outlet store near you? Tanger offers a coupon booklet for $5. Ask to see the booklet before you purchase, not all the stores in the outlet mall participate & some coupons aren't worth using unless you're purchasing a big ticket item. Sign up for the newsletter via email so you won't miss out on outlet wide events like the Pink Partini & charity events that reward your participation with coupons!
 
 
In general, signing up for email newsletters for stores is  a great way to be informed about sales & receive coupons (create an email address just for this purpose so as not to clog your inbox).
 
 
Another way to be informed about sales & percentages off is friending your favorite stores on Facebook. Frequently, stores will advertise special deals & discounts only to their Facebook fans/friends.
 
I'm not a huge fan of store credit cards, but if you're spending a significant amount it may be the best deal. Almost all stores offer a percentage off just for applying for the store card.
 
Another thing I'm not a fan of is online shopping (for clothes). However, stores will frequently offer deals such as percentages off or free shipping for online shoppers.
 
These are just a few tips for your next shopping trip. Have some tips of your own? Please share with us & our readers in the comment section. Now, get out there & buy something! (cheap)  


Friday, September 14, 2012

Nailed It

The weekend is merely hours away...did you get your nails did? If not, keep reading for tips on fantastic, fool proof, DIY nails.
 
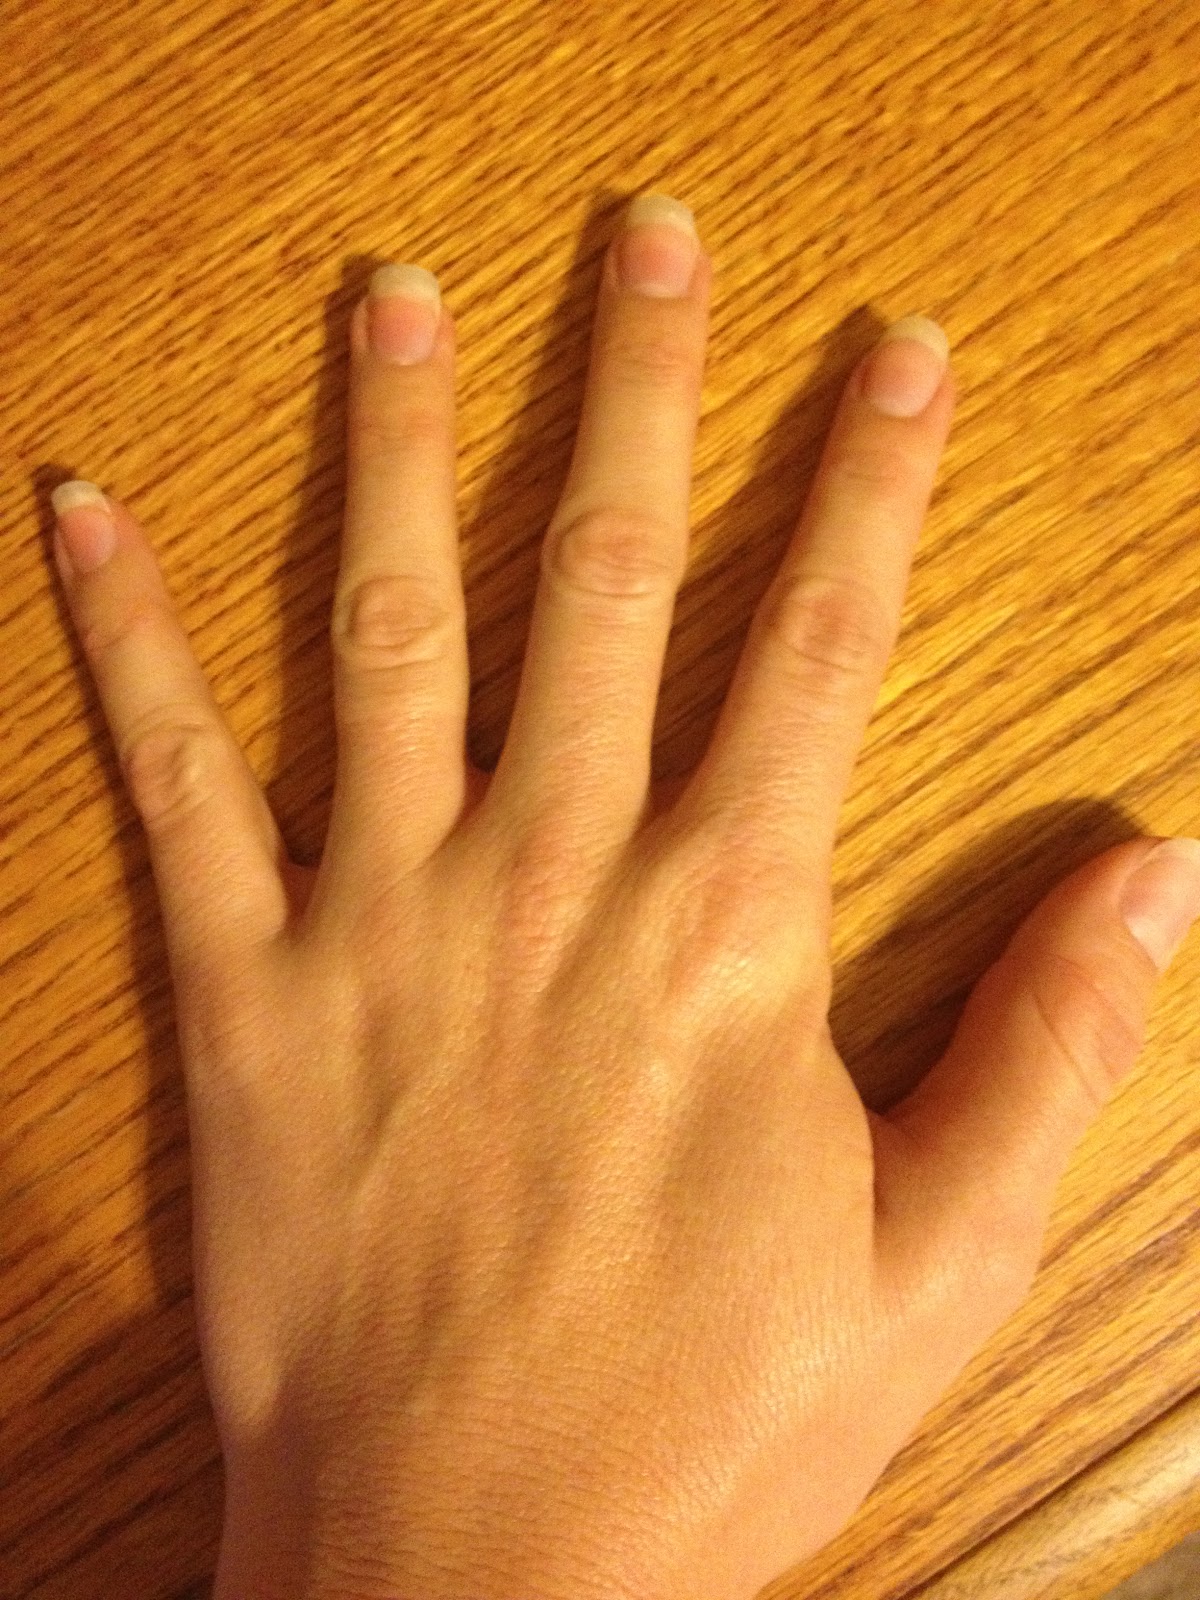
Remove old polish. If your nails were unpolished, still wipe them with a cotton ball soaked with pure acetone. This will remove dirt & natural oils from your nails and your paint job will last longer. Acetone is better than regular polish remover for most everything; you'll find it in the store next to regular polish remover (about $2)

Choose your color, mine is "Mint Sprint" by Sally Hansen, Insta-Dri. Paint just the tips of your nails; double the coat. Try to stay as neat as possible (the clean up will be easier) but they don't have to be perfect. I save my thumb nail for last; I usually use it for clean up around the cuticle when painting.


Now you'll need a cap full of acetone & a small paint brush. Dip the brush into the acetone & use like an eraser to shape tips.


After you shape the colored tips of your nails, use a sheer nail lacquer for the remainder of your nail; I like Orly's Beverly Hills Manicure in Plum. Just a single coat here. You want the this part of your nail to look natural & not too pink.


Now paint with a super shiny top coat. Nailed It.
 
 
For some really creative nails, visit Color Me Rad salon in Beaufort, South Carolina. Thao nails it with her one of a kind, killer designs.


See more about Color Me Rad here