Monday, October 8, 2012

Fail!!

Do you ever see something and think "I can totally make that!"  I do it all the time.  And since I have a Silhouette Cameo, I tend to go overboard sometimes.  But this isn't one of those posts where I failed at making something inspired by Pinterest.  Oh no.  It's one where I basically failed at folding paper.  Why can't the Martha gods smile down upon me sometimes?  Any who, I was browsing silhouettes online store for shapes for halloween.  I have two nephews who are having a joint birthday party, and I thought it would be kind of cute to have little halloween inspired treat boxes.  So, I find the shape.  This one, to be exact

How cute is it?  And so totally easy, since the machine cuts everything out for you.  All I would have to do is fold and fill with treats, right.  So totally simple.  WRONG!  I failed.  Now, don't get me wrong, it does look like a bat treat box, but not one where you could keep the treats inside the actual box!  Everything started out ok.  I got it cut out.


See, how nice.  I popped it out of the template, and started folding along the crease lines, so nicely dotted by the silhouette.


And then things went downhill.  Notice anything about the box?  Like maybe the sides aren't touching?  No big deal, right?  Slap a piece of tape on that sucker and call it a day.  Nope, every time I taped one side, the other came apart.


Ugh!  Just stay together!  What was suppose to start out as a nice little Sunday afternoon project, whipping out like 25 of these, turned into me getting in a mood because my undiagnosed OCD wouldn't let me be satisfied with the box.  That was for a children's birthday party.  That only my family was going to.  I may have problems.  This was the finished product.  Please excuse my unpolished finger nails.  Between planting mums and cleaning the house, OPI has had to wait.


It looks totally fine.  And my nephews will love it, especially because it will be filled with sugary goodness.  But, I can see the flaws, and they taunt me so.  Oh well, maybe I should try and youtube Martha's failures, if she had any, which I doubt, because she had a show.  And a magazine.  And books.  I have a blog with my best friend and severe problem with boxes not wanting to stay together. 


Thursday, October 4, 2012

The Great Pumpkin (roll)

Now is the time for pumpkin flavored dishes. Pumpkin spice latte, pumpkin pie, and today:
Libby's Pumpkin Roll
 
You needn't set off to your local pumpkin patch, just your local grocery store. Libby's pumpkin roll is a quick (and delicious) dessert to bring to a fall party or bring in to work one morning & share a sweet slice for breakfast.
 
You will need (for cake):
3/4c all purpose flour
1/2 tsp baking powder
1/2 tsp baking soda
1/2 tsp cinnamon
1/2 tsp ground cloves
1/4 tsp salt
3 eggs
1c sugar
2/3c pure pumpkin
 
(for filling):
8oz cream cheese, softened
1c powdered sugar
6 tbsp butter, softened
1 tsp vanilla
 
Grease 15x10 jelly roll pan, line with wax paper. Grease & flour wax paper.
Sprinkle kitchen towel with powdered sugar.
 
Combine dry goods in small bowl. Beat eggs & sugar in large bowl until thick.  Beat in pumpkin, then stir in dry goods.
 
Spread mixture evenly into pan. Bake @ 375 degrees for 14-16 minutes or until top springs back. Immediately loosen & turn cake onto towel, peel off paper gently. Sprinkle powdered sugar on cake, roll up in towel starting at narrow end. Cool on wire rack.
 
Beat cream cheese, butter, vanilla, & powdered sugar until smooth. Spread on cake, roll up, wrap in plastic wrap. Enjoy.
 
Rolling the cake in a kitchen towel immediately after removing from oven gives it the "roll" look without breaking the cake.


 Please disregard the underlined words; I'm not sure what happened there :)

Tuesday, October 2, 2012

Spooky!

My husband and I throw a Halloween party every year.  And since we try and be nice to all of our friends with children, we have it two weeks before the 31st.  Which means, our party is in two weeks!!  Eek!!!  Which means I have to get a move on decorating our house!!  And making our costumes!  And getting food! Plus go to work, go to the gym, and oh yeah, spend time with my husband!  Totally doable, right?  I hope so.  

So what is up first on the list, you ask?  Bats. Vinyl bats to be specific.  I saw on Pinterest (love that site!) where someone had cut out vinyl bats and stuck them all over the house.  I loved the idea.  So much so that I stole it.  But my OCD kicked in while I was putting the up, and I can't decide how I want them to look.  I put some on the bathroom mirror.


I like them, but I don't know if I love them.  So, I decided to go to the dining room and put some on the light.  Again, I like them, but I don't know if I love them.  Maybe y'all can help me decide.


Should I just scatter them about or put them in a pattern?  And pay no attention to the bugs in the bottom of the lights.  They are there for effect.  

While playing with the bats, I decided to show you some pictures of my chargers I made!  I would show you my dining room table, but it's currently under a sewing machine, sale ads, various gun parts (hubs, not mine) and other random stuff.  So, I will just show you the chargers and let you imagine that my dining room table is impeccable and wonderfully decorated just like Martha's would be.


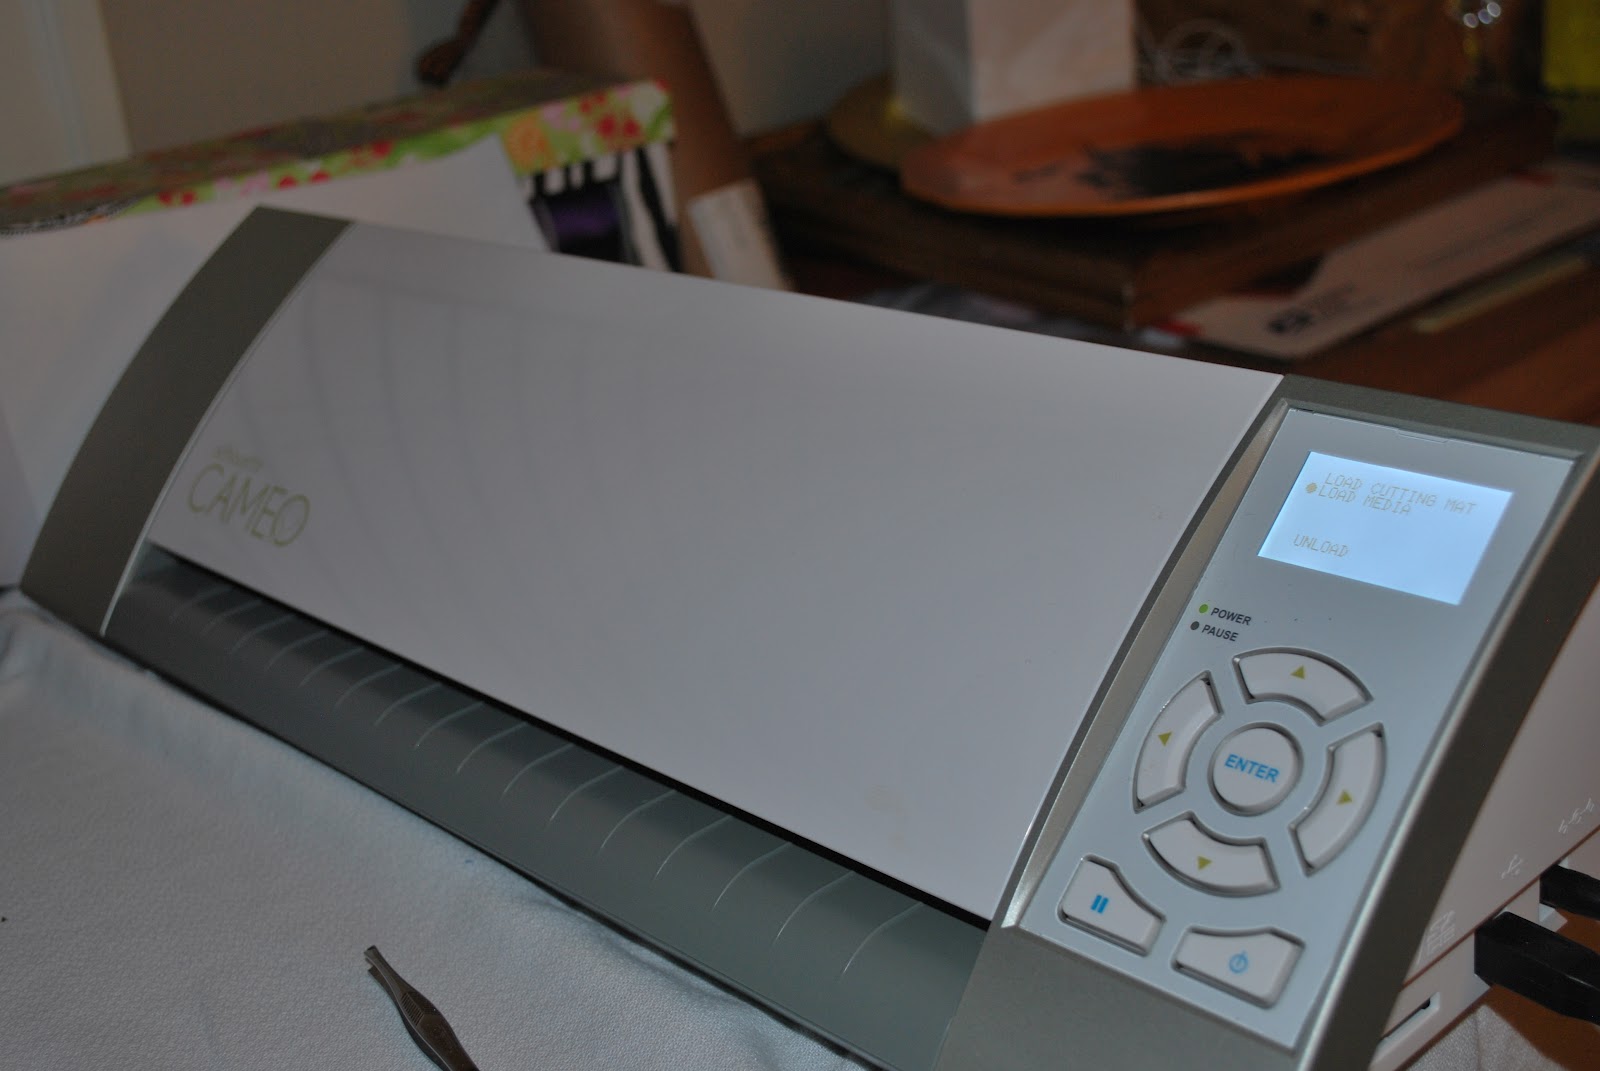
And how did I cut out all of this wonderful vinyl?  With my Silhouette Cameo, of course!  I have only had her a few months, but I love her!  


And pay no attention to the mess in the background.  My work space is always under construction.  It was clean once, when I set it all up.  But then 5 minutes passed and I had to make something.  Oh well!  Enjoy your Tuesday!  And don't forget to tell your friends to follow us.  We really want to giveaway the OPI nail polish pack!!  


Sunday, September 30, 2012

Halloween Greetings

With today's technology, most of our greetings are virtual; email, Facebook, texts....
 
Although we don't need an excuse to brighten someones day with a card, the holidays are a perfect opportunity.  This year, why not spread some Halloween cheer, get creative & hand-make a few cards to drop in the mail?
 
I think I'll use my hand-made cards to send to nieces & nephews with a gift card of a small denomination in lieu of candy this Halloween.
 
Scroll down to see a few examples....

All of the cards featured on today's blog are made with paper & embellishments from K&Company.
K&Company products can be found at your local craft store; now is an opportune time to purchase for best selection.
 

Hand-made cards add a personal touch to your greeting. Each card is as unique as its recipient.


 Halloween is a favorite holiday here at A Southern Obsession, so stay tuned all month long for DIY decorating ideas, costume inspirations, recipes to share at your upcoming holiday parties, and more. Also, don't forget our upcoming drawing for OPI's  So So Skullicious nail polish for our followers!
 
Share pictures of your hand-made cards with us; we'd love to be inspired by you!


Friday, September 28, 2012

It's Fall Ya'll

Fall is finally here, although in south you wouldn't know it by the temperature. I can't wait any longer; I need to decorate! Today I'm going to share with you my first attempt to create a mesh wreath. If you're unfamiliar with mesh just check out your local craft store; you're bound to see some of the many options for using mesh on display. While there, pick up a few rolls of mesh & try out this simple wreath that'll brighten up any door.
 
Like most things, rolls of mesh are cheaper online. The 2 that I purchased for this project were 7.99/roll @ a craft store (I only used 1/2 of each roll). Online you'll pay around $1-2 less. I chose orange & green; 2 generic fall colors that, next week, I can incorporate into my more spooky decor. Other supplies you'll need for this wreath include a wire wreath frame ($5, reusable), cable ties (4"), scissors, and decorative ribbon for a bow.
 
 
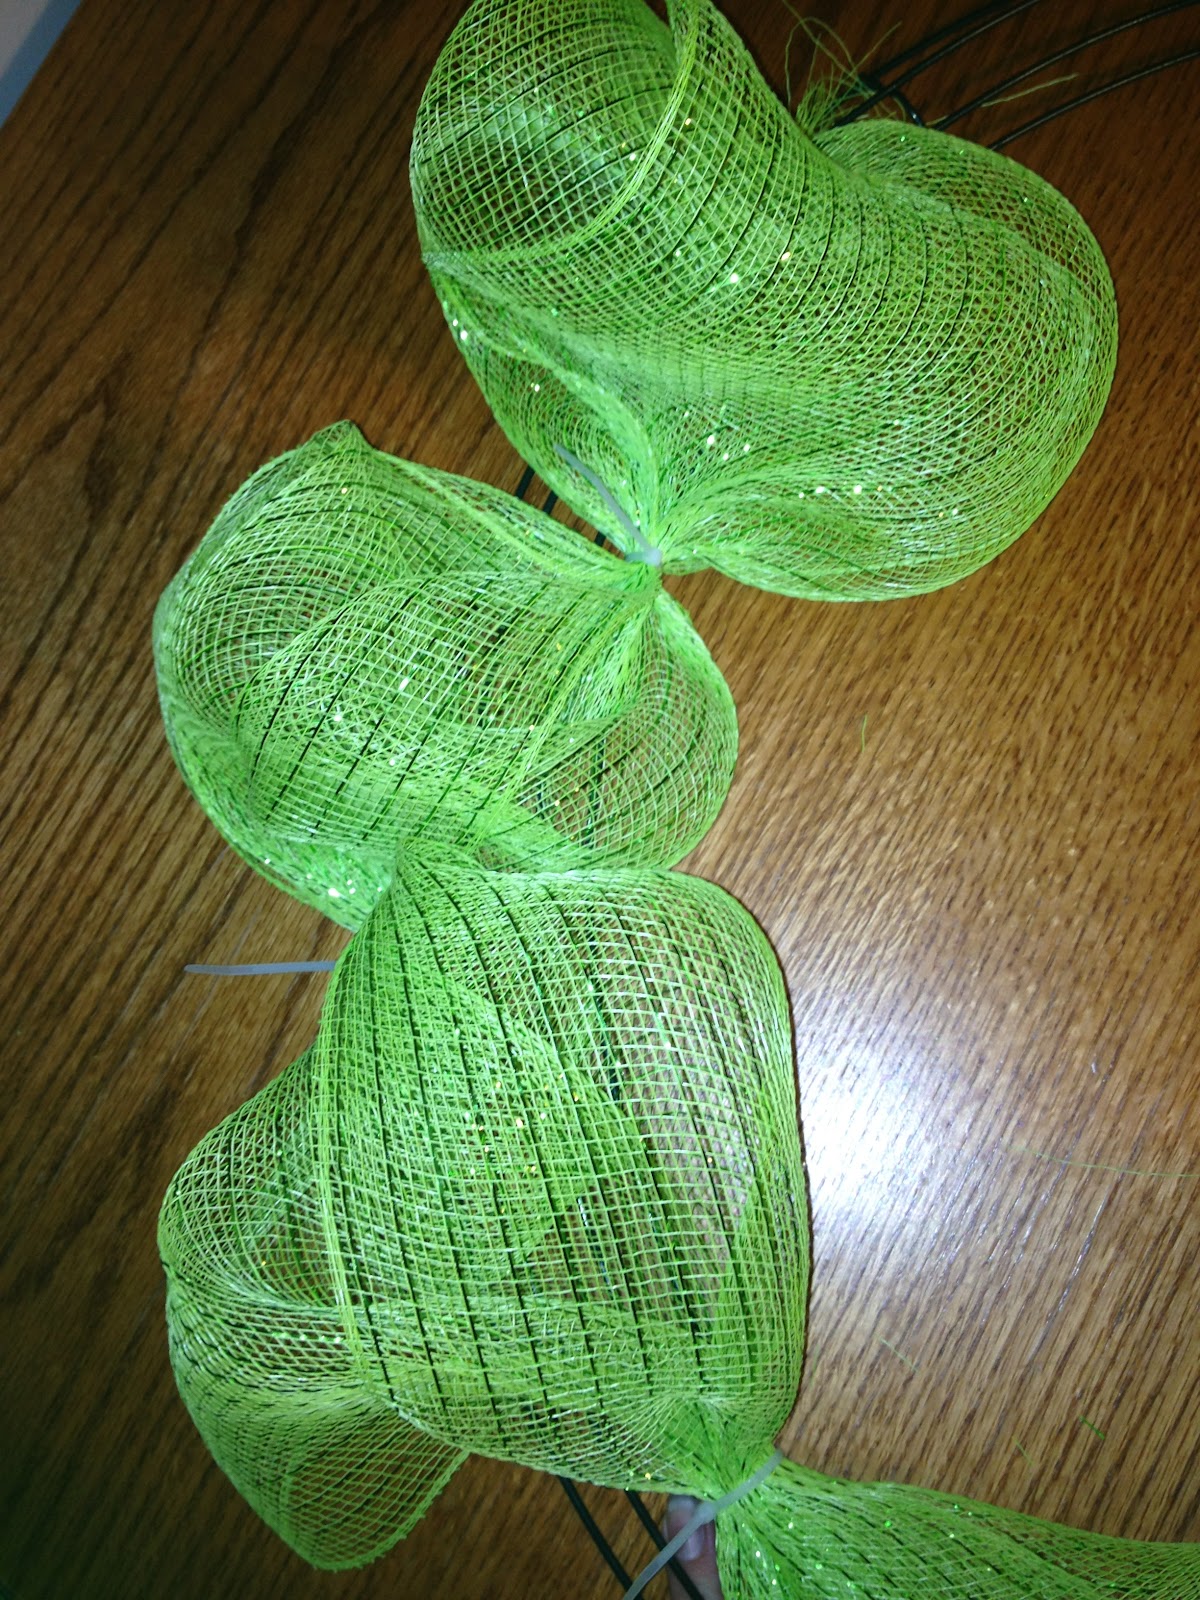
To make it more managable, unroll about 3-5 feet of one color & cut it from the roll. Begin by scrunching one end of the piece you cut and secure it to the wire frame with a cable tie.


From here, gather the mesh in sections about 10-12 inches long. Once my wreath was completed, I regretted not using bigger sections as the wreath will appear more full. Secure the end of each section to the wire frame with a cable tie. It should looks something like this:


I apologize for the bad lighting.
 
Now repeat the above steps with 2nd color, this time weaving the alternate color in between each section of your original color.


Because mesh is shapeable, once you have both colors secured to the wire frame, feel free to "fluff" up the pieces. Adjust areas that may be more full than others.
 
 
Once the wreath is to your liking pop a bow at the top.


And quickly find a door to make festive.


This is a VERY simple illustration of the use of mesh.  I'm looking forward to using mesh to create lots of decor this holiday season. Keep scrolling for some other mesh wreath ideas


Thursday, September 27, 2012

BBQ!

For those of you who don't know, which is most of y'all, I live in Western Kentucky.  I love living here.  The small town life, the changing of the seasons. But my favorite thing is the BBQ on the river!  They have it every September, and we go every year!


Vendors from all over come to the river front and cook for bragging rights!  They all do it for various charities and schools in the surrounding areas.  But besides having barbecue, they also have funnel cakes, old fashion ice cream, and my favorite, deep fried oreos!!


We are going Friday, to munch on barbecue sandwiches and drink lemonade!  I honestly cannot wait!  Hopefully I will get some good pictures I can share with y'all!  Have a great Thursday!

Tuesday, September 25, 2012

It's Halloween!!

Ok, not really.  But we are getting closer!  And I can't wait!  Halloween is a huge deal around our house.  We have a Halloween party every year, and all of our friends dress up in costume.  We have had some great costumes through out the years.  And that is what today's post is about.  A DIY costume idea!  And it's so easy!  I have already done it.  So, can you guess who I was last year for Halloween?


Flo from the Progressive commercials!  And it was actually a pretty easy costume to make!  I already owned the white jeans and bought the white polo at the Gap on clearance.  I think it was from the mens section.  The fake Converse were from Payless.  Cute and I still wear them.  Now, the apron and letters I bought from Hobby Lobby.  I think I used a 40% off coupon for the apron.  Then just went home and ironed them on!  The head band was from the Dollar Tree.  I just teased my hair in the back and put the head band on.  I downloaded her name tag and the I Heart Progressive logo from Progressive's website (they actually have a link to tell you how to dress like Flo!) and printed it on card stock.  And finally, I used two different red lipsticks to get that same red (or as close as I could).  Everyone said I looked just like her!  And it was so easy!  So get our there and get your Flo on, or just start thinking about your costume, and have a great Tuesday!!